
As I just write, I just got a macro extension tube. Every time I ran into the same problem: i had not enough light… so i checked some websites to buy a LED-ring like this. Unfortunate some people say that these devices have not enough power… so is decided to build my own LED ring so that i will ever have enough light.
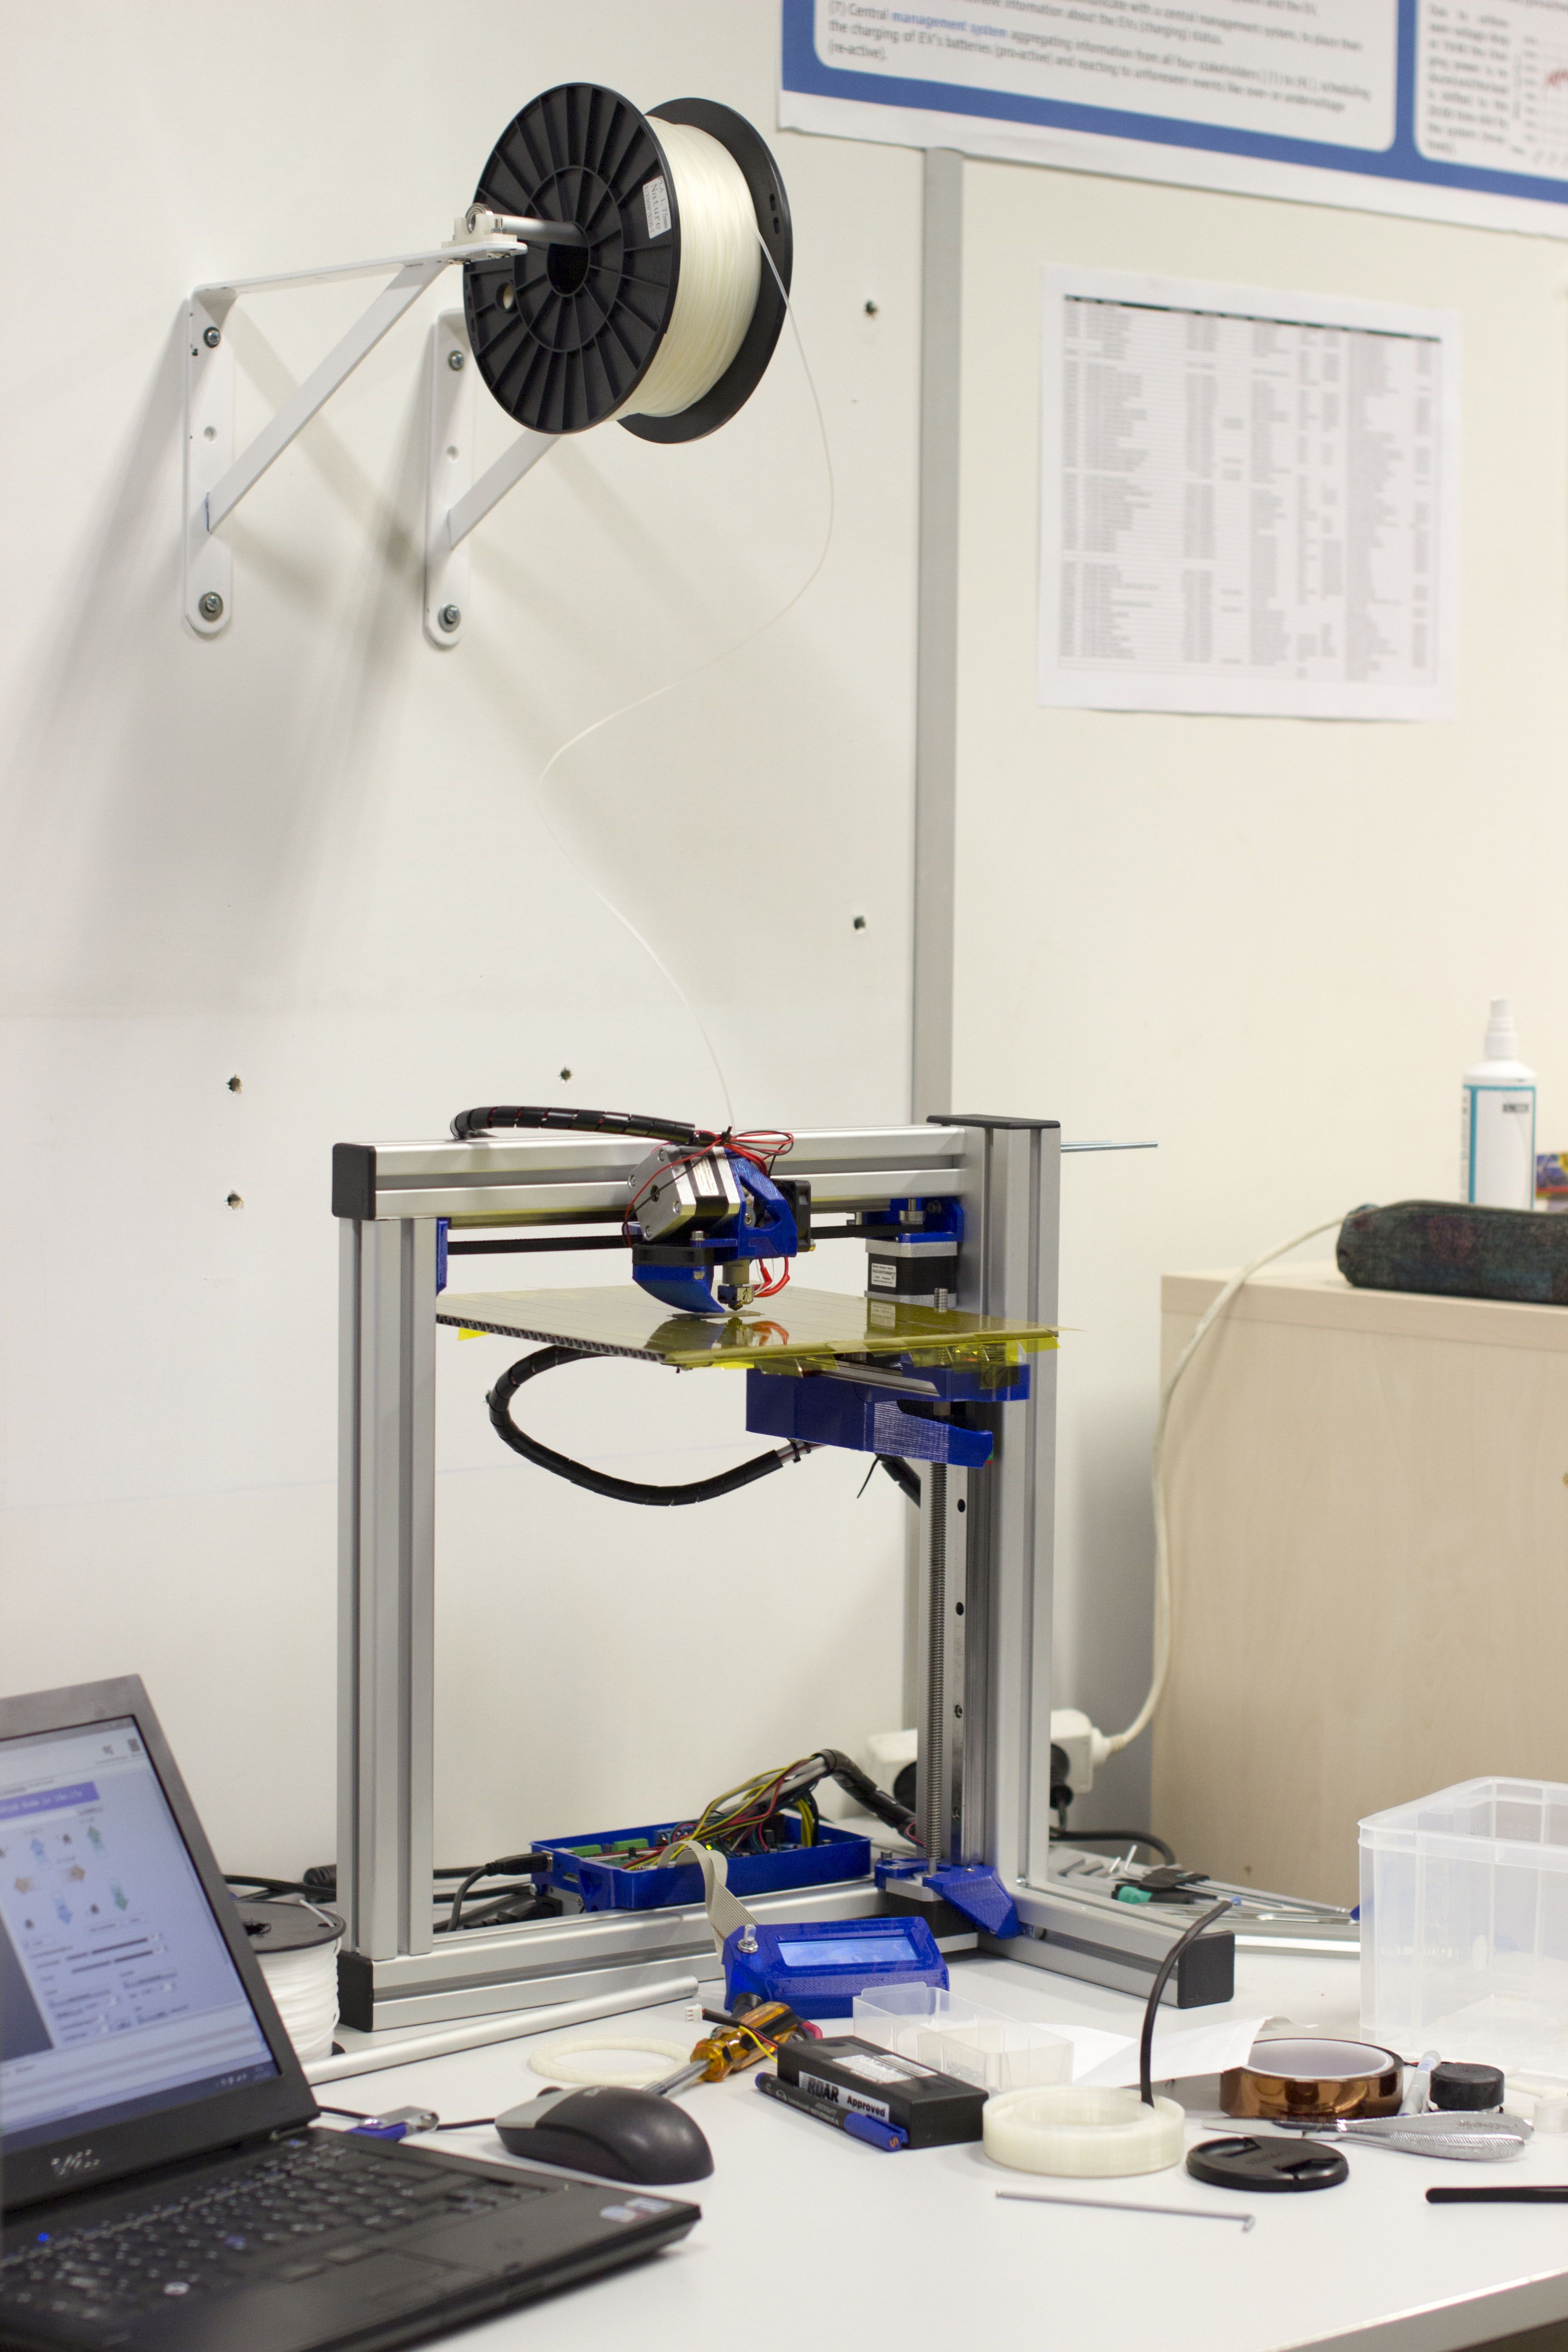
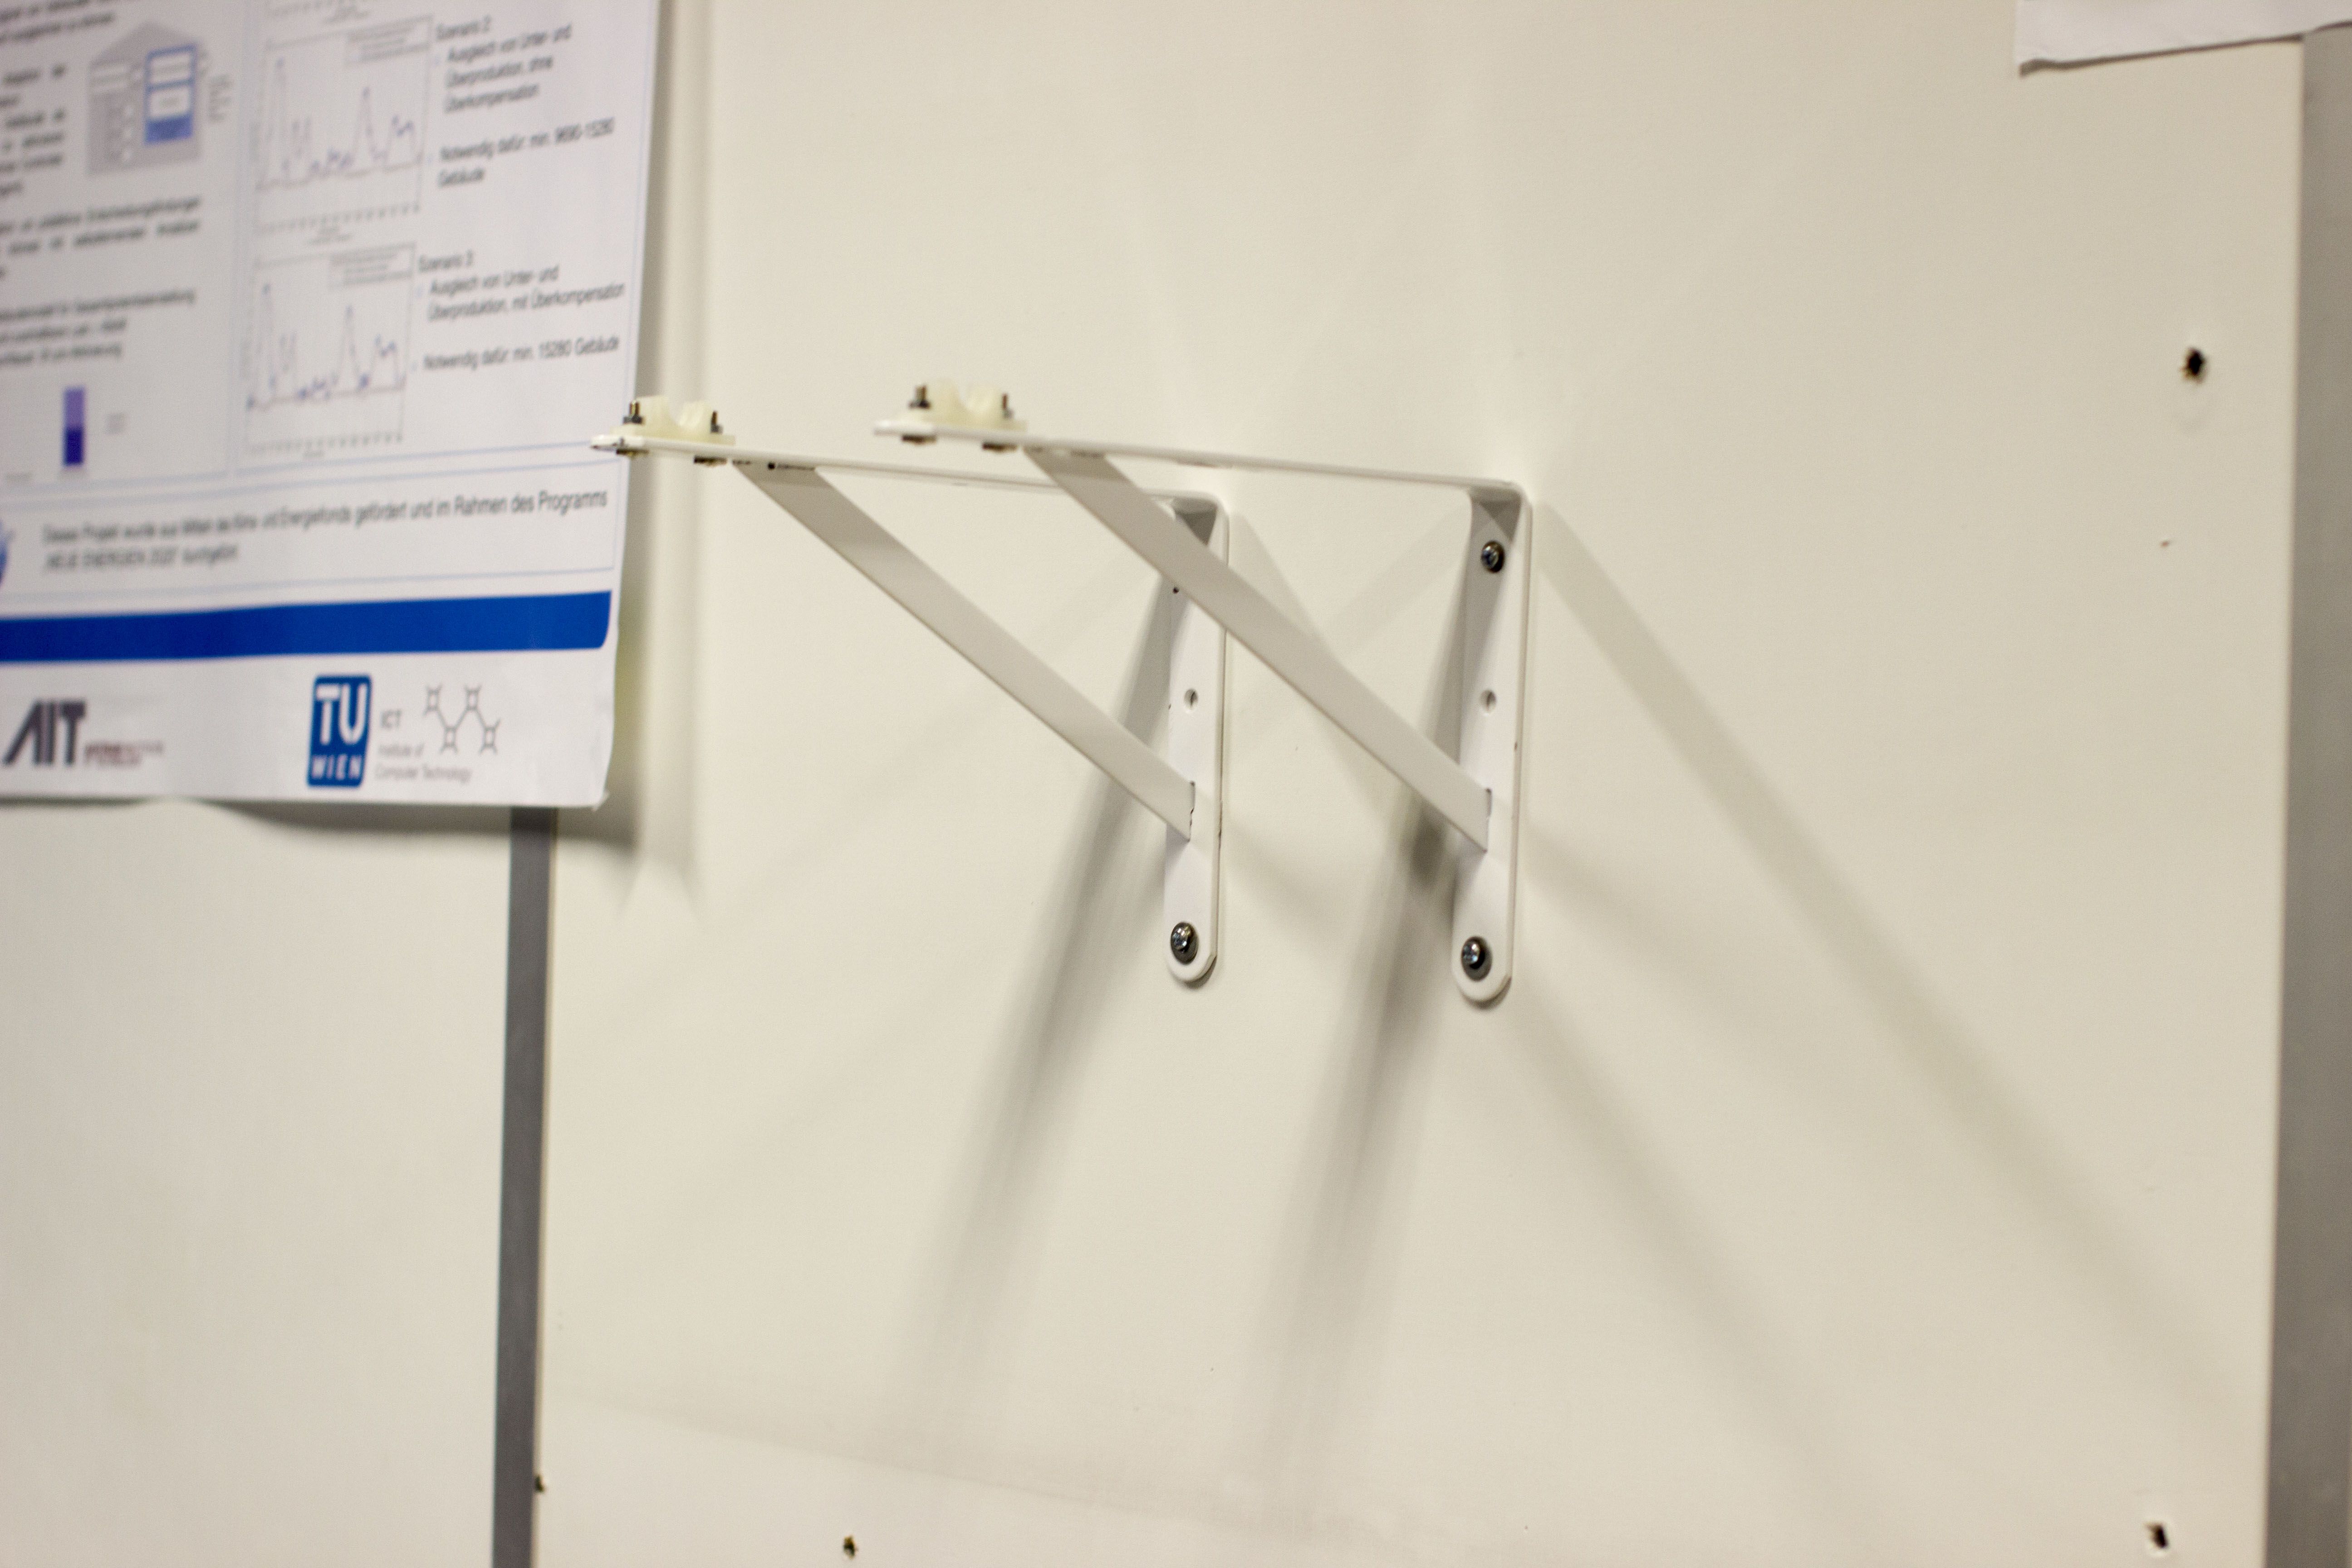
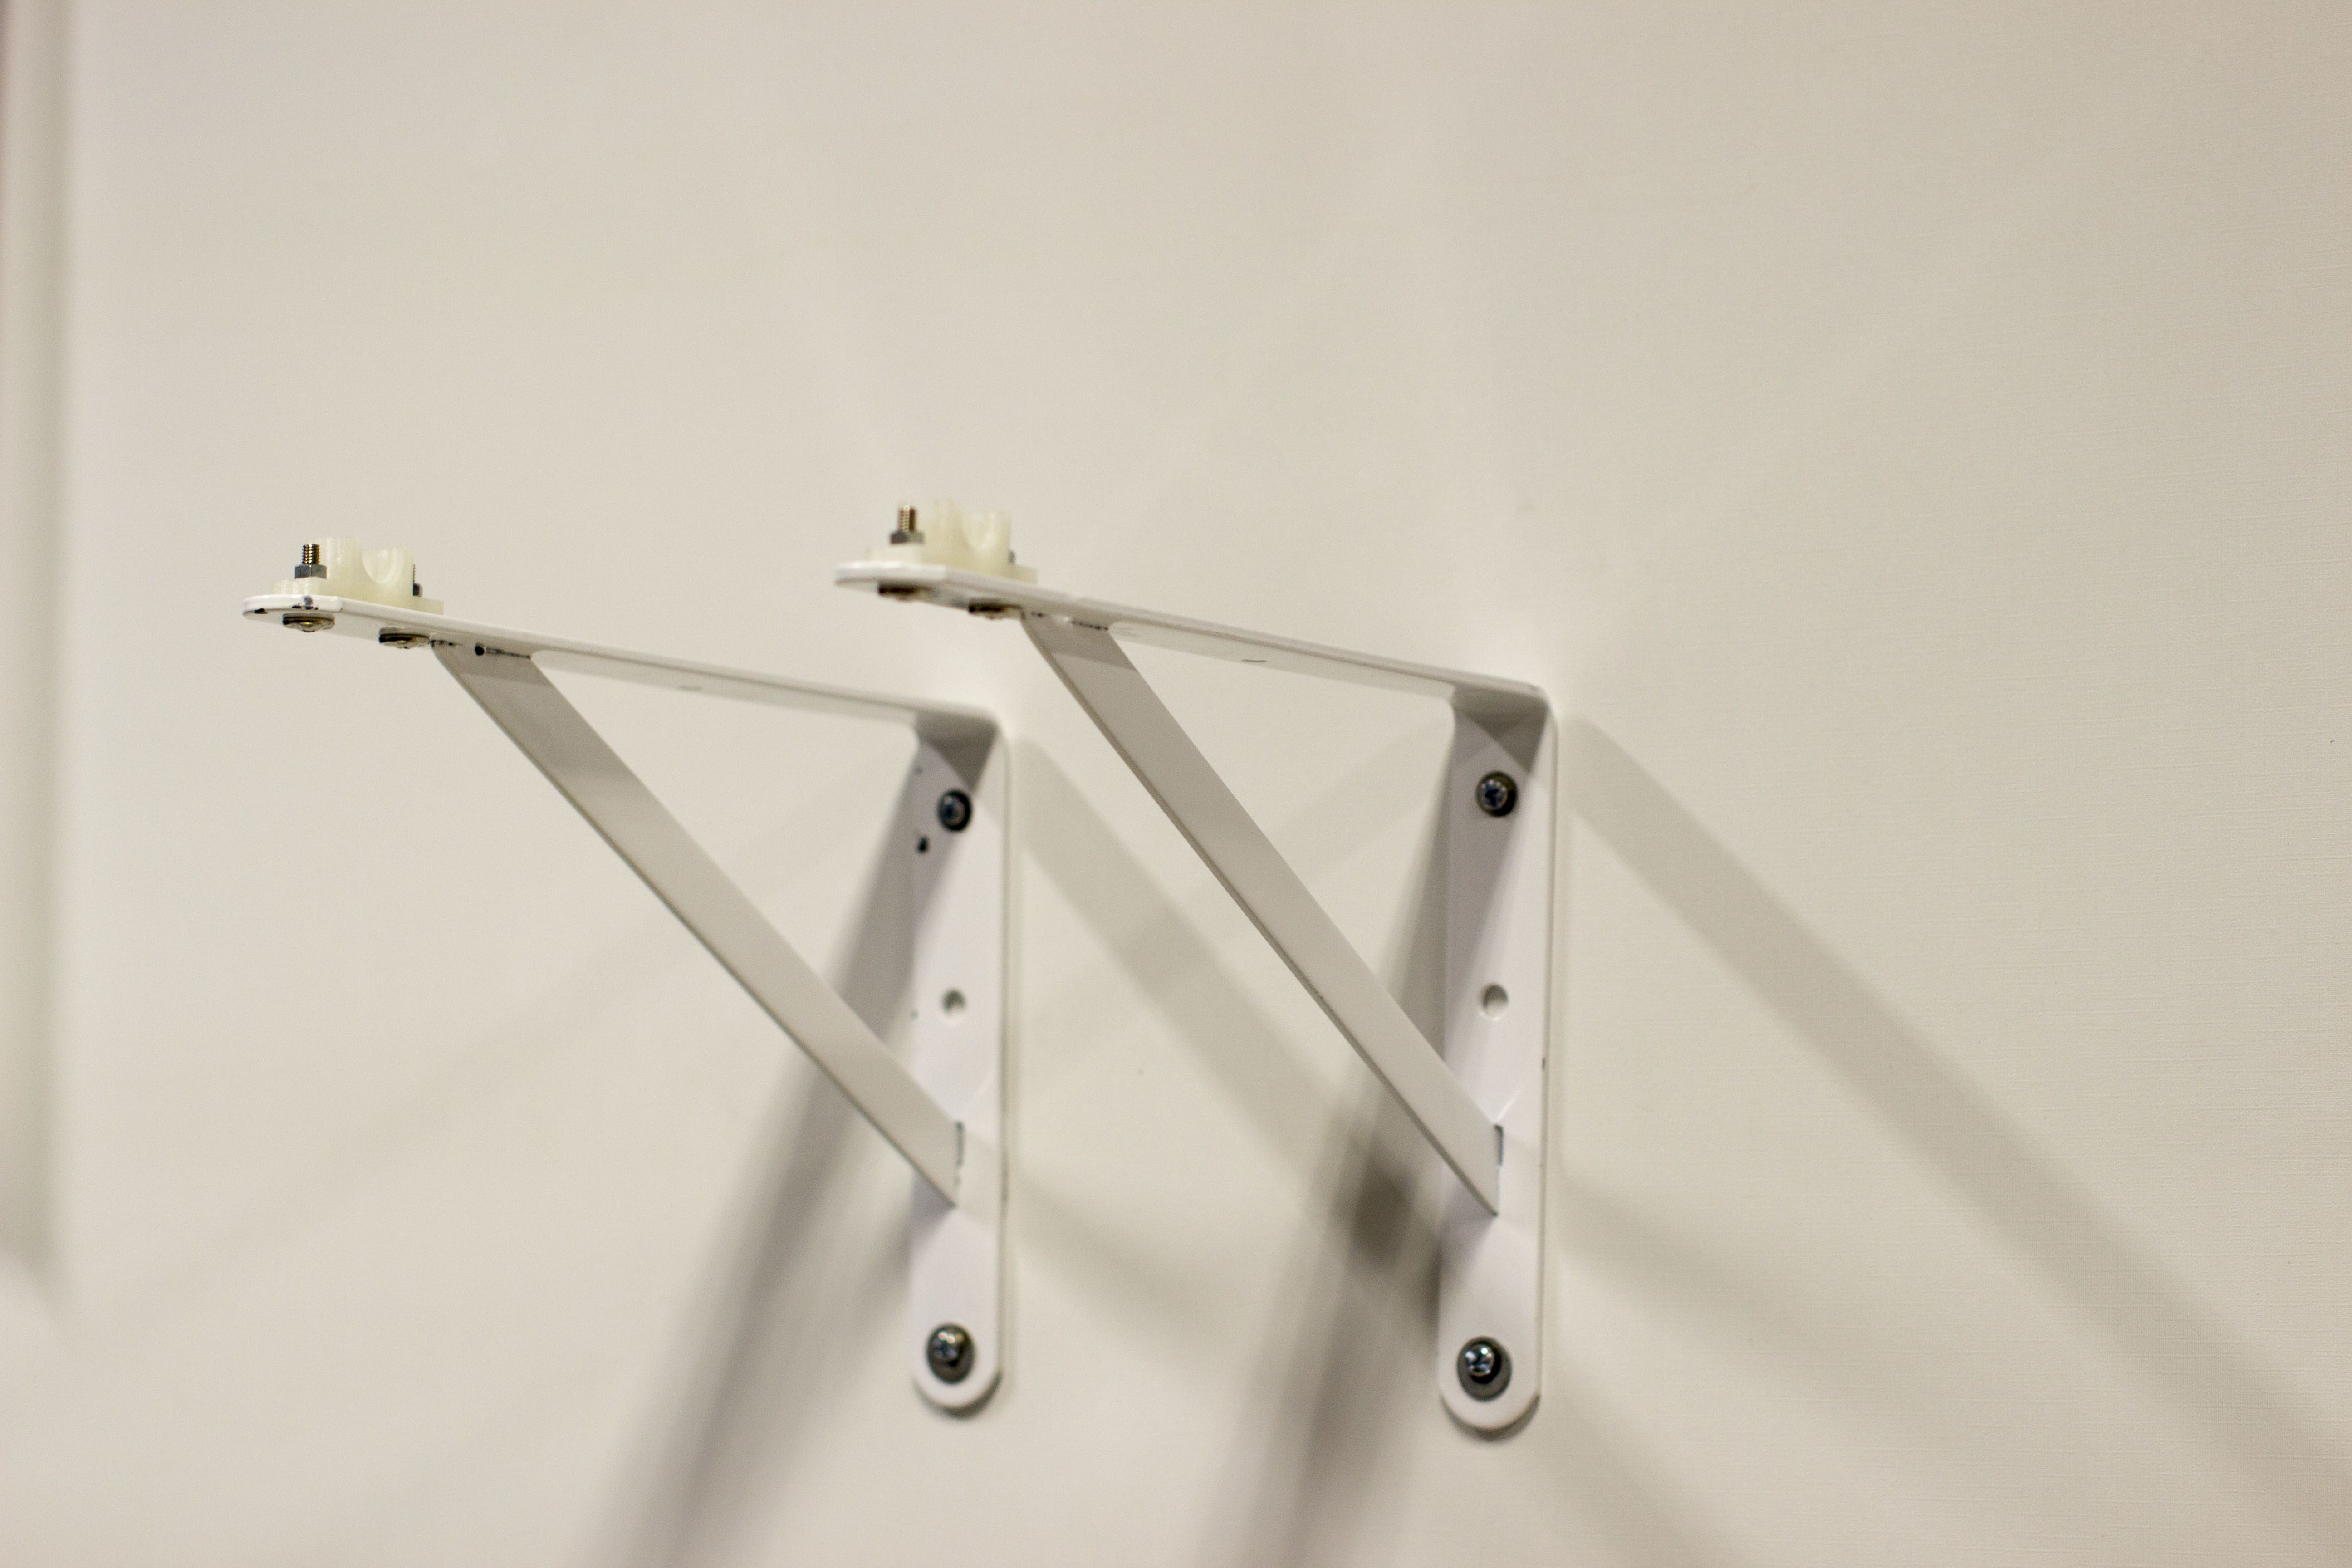
Luckily we just bought a 3D printer at work and I am in charge to get familiar with this device. The printer we are using is a Felix 2.0. Is a very easy and i think well priced device for the most applications. Also the community of the printer provide upgrades and the distributor, Felix-Printers, provide upgrade kits if a new version is rolled out. We had a few prints before, but mostly for Students and colleagues. We had a few problems with the feed of the filament so we came up with the idea to build a holder for the rolls. First we bought some rack mounts from a local store an mount them on the wall.
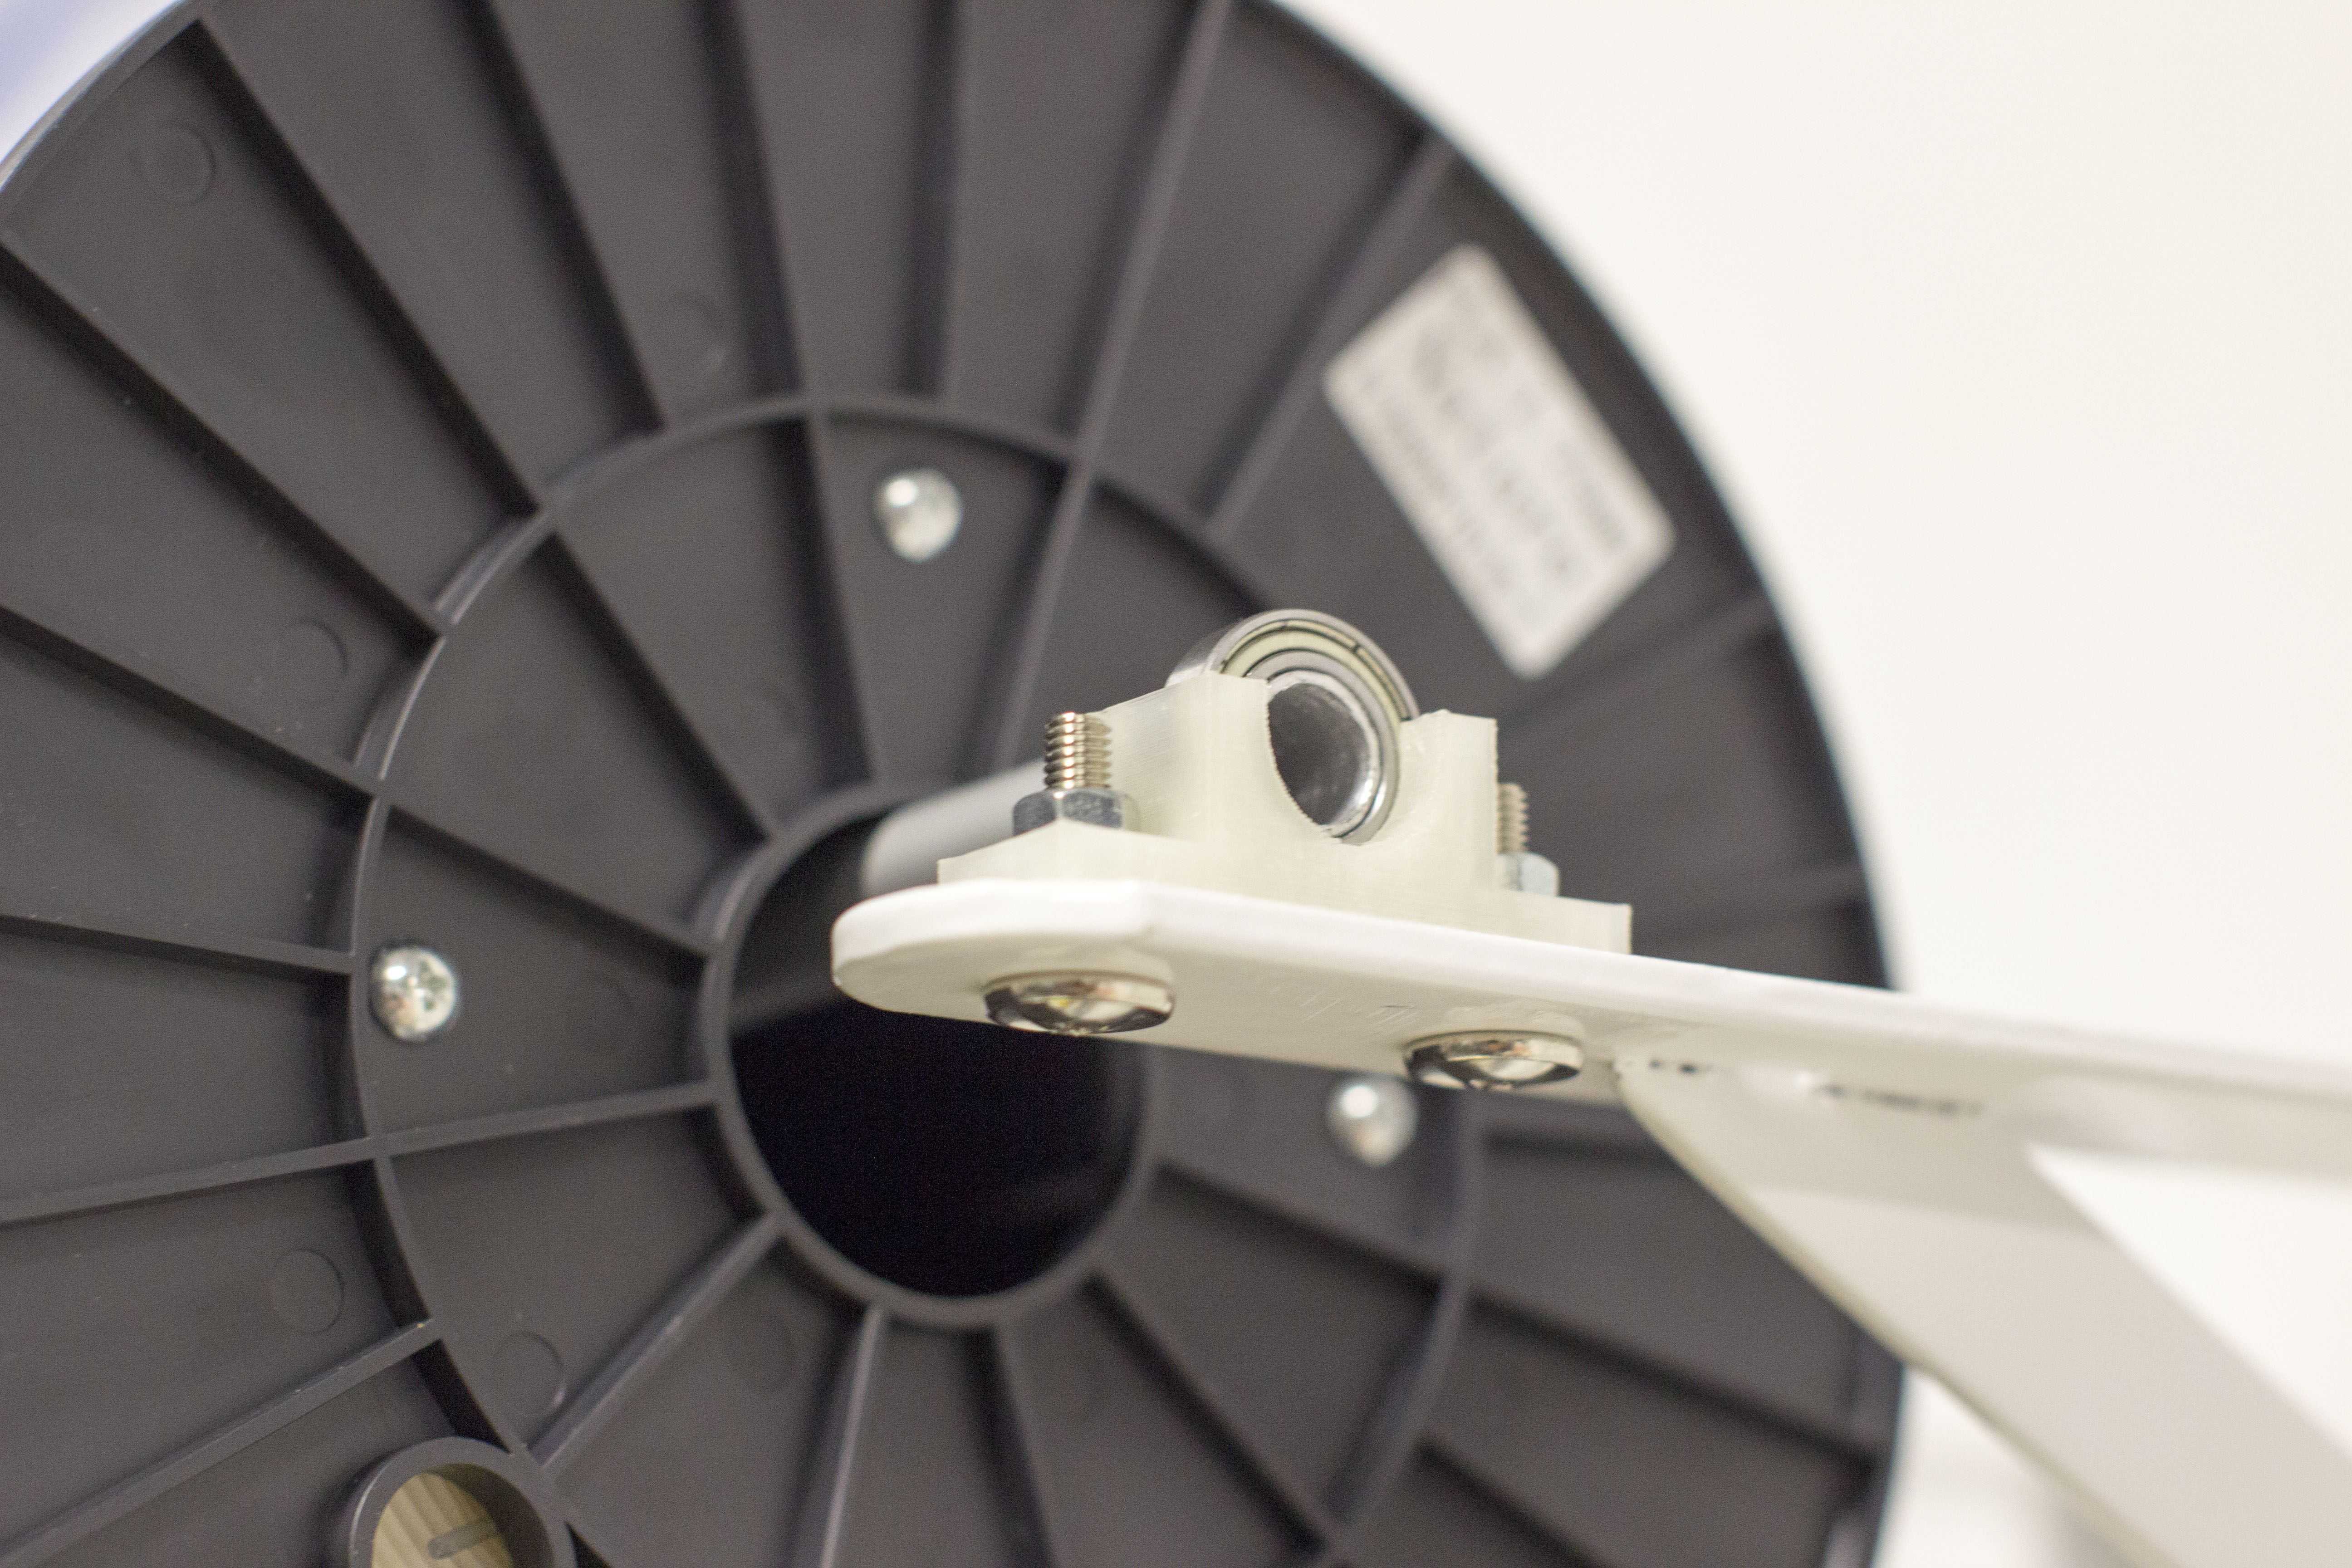
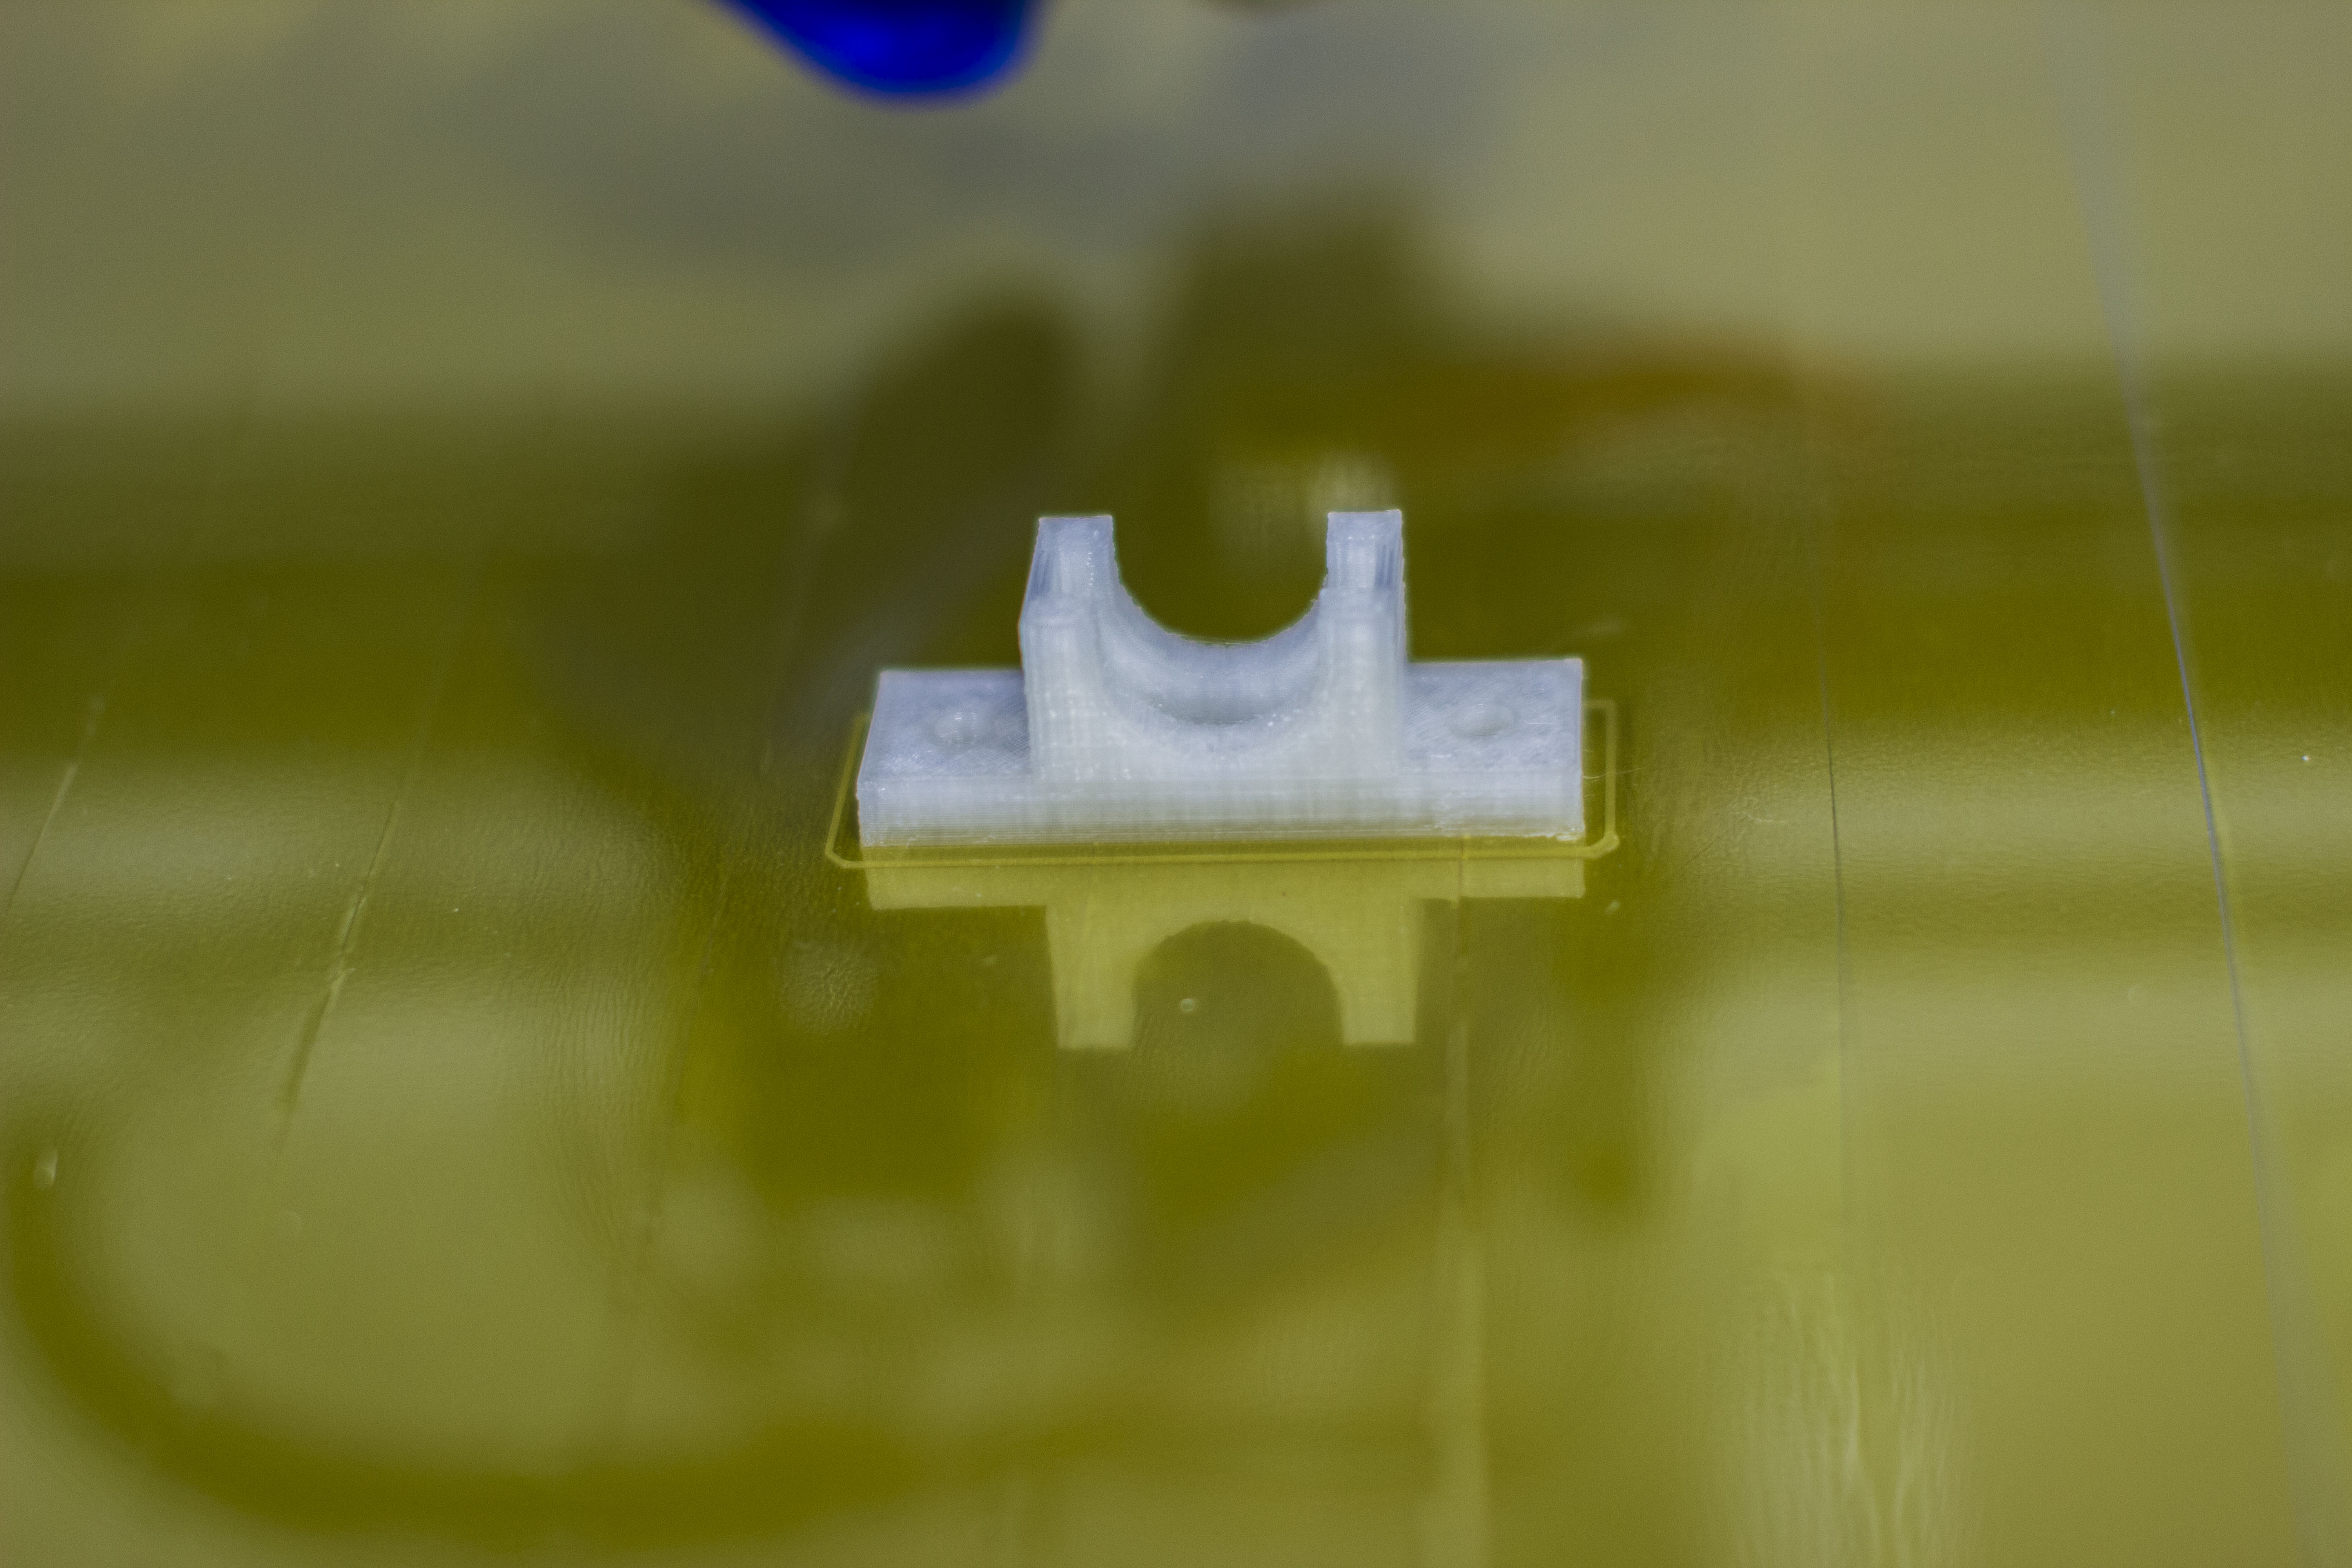
On the picture u can also see the second step, the holder for the ball-bearing. We found a quick solution for CAT drawings here. Autodesk 123D is a free drawing tool for every System, because it will run in the browser window. We designed the holders and print them with our printer.
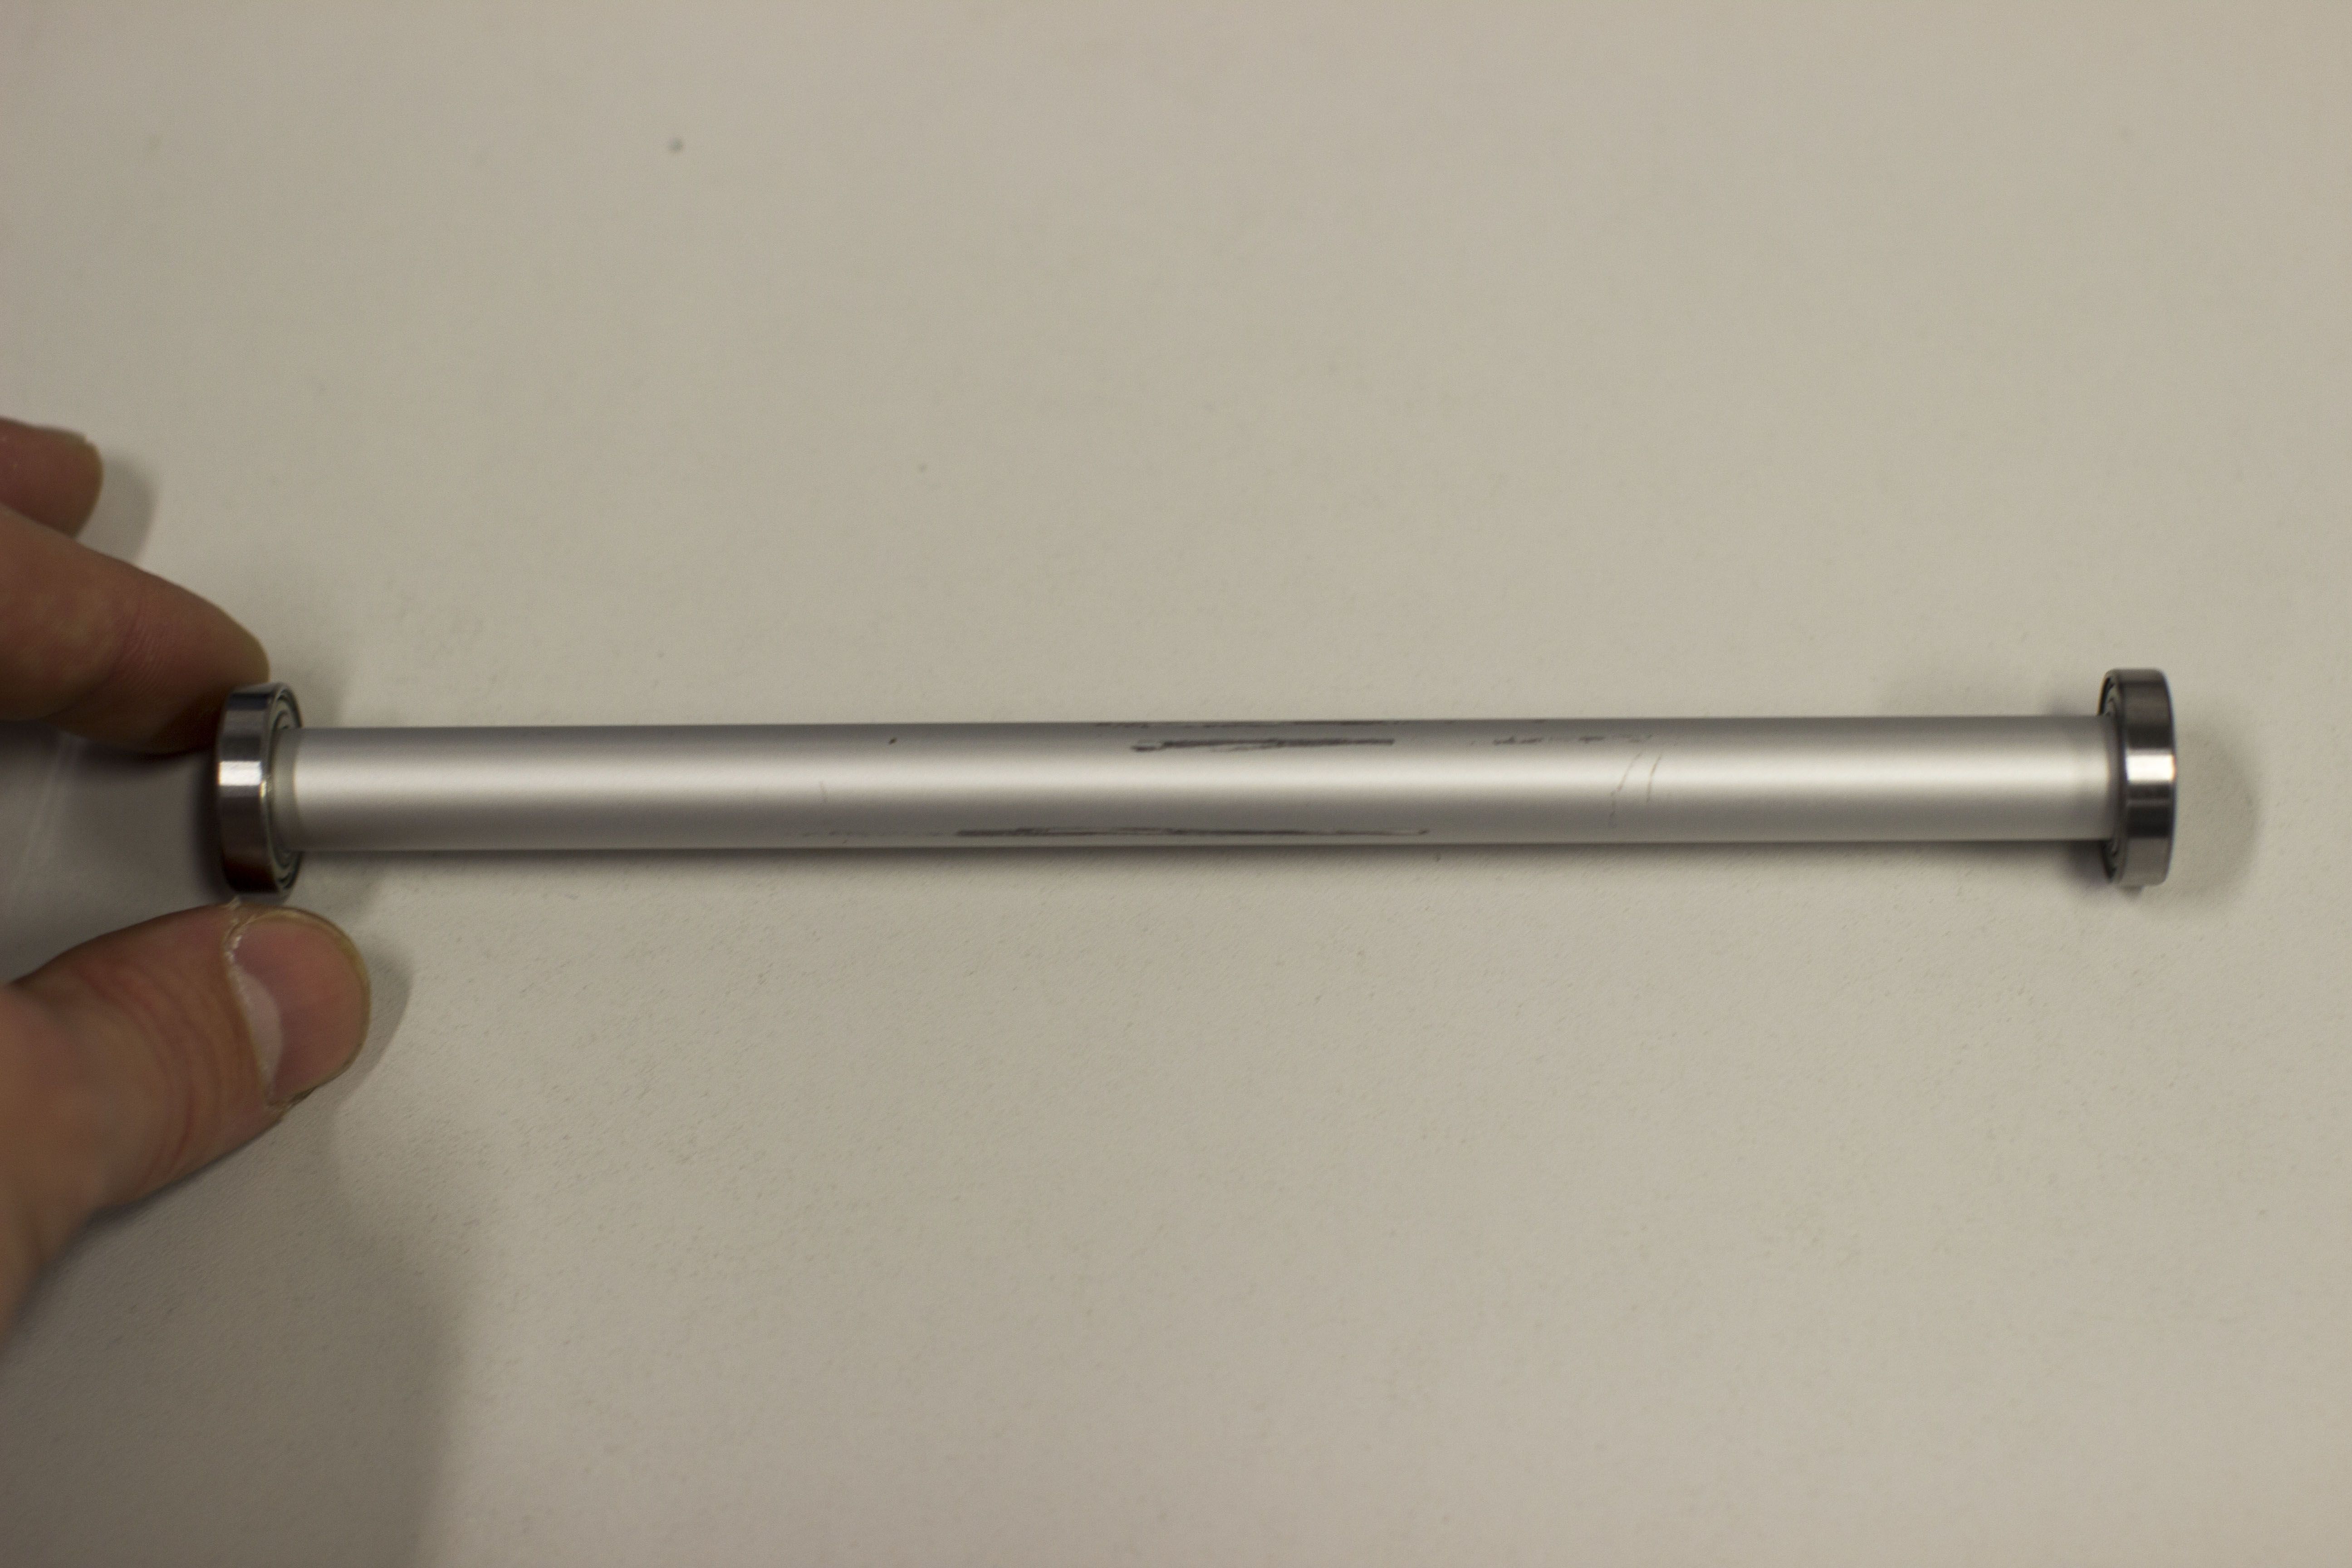
As the next step we step we used ball-bearings to pivot the filament roll. For this we came up with a normal staff of aluminum. At the ends we mounted the ball-bearings.
The final result is nice to look:
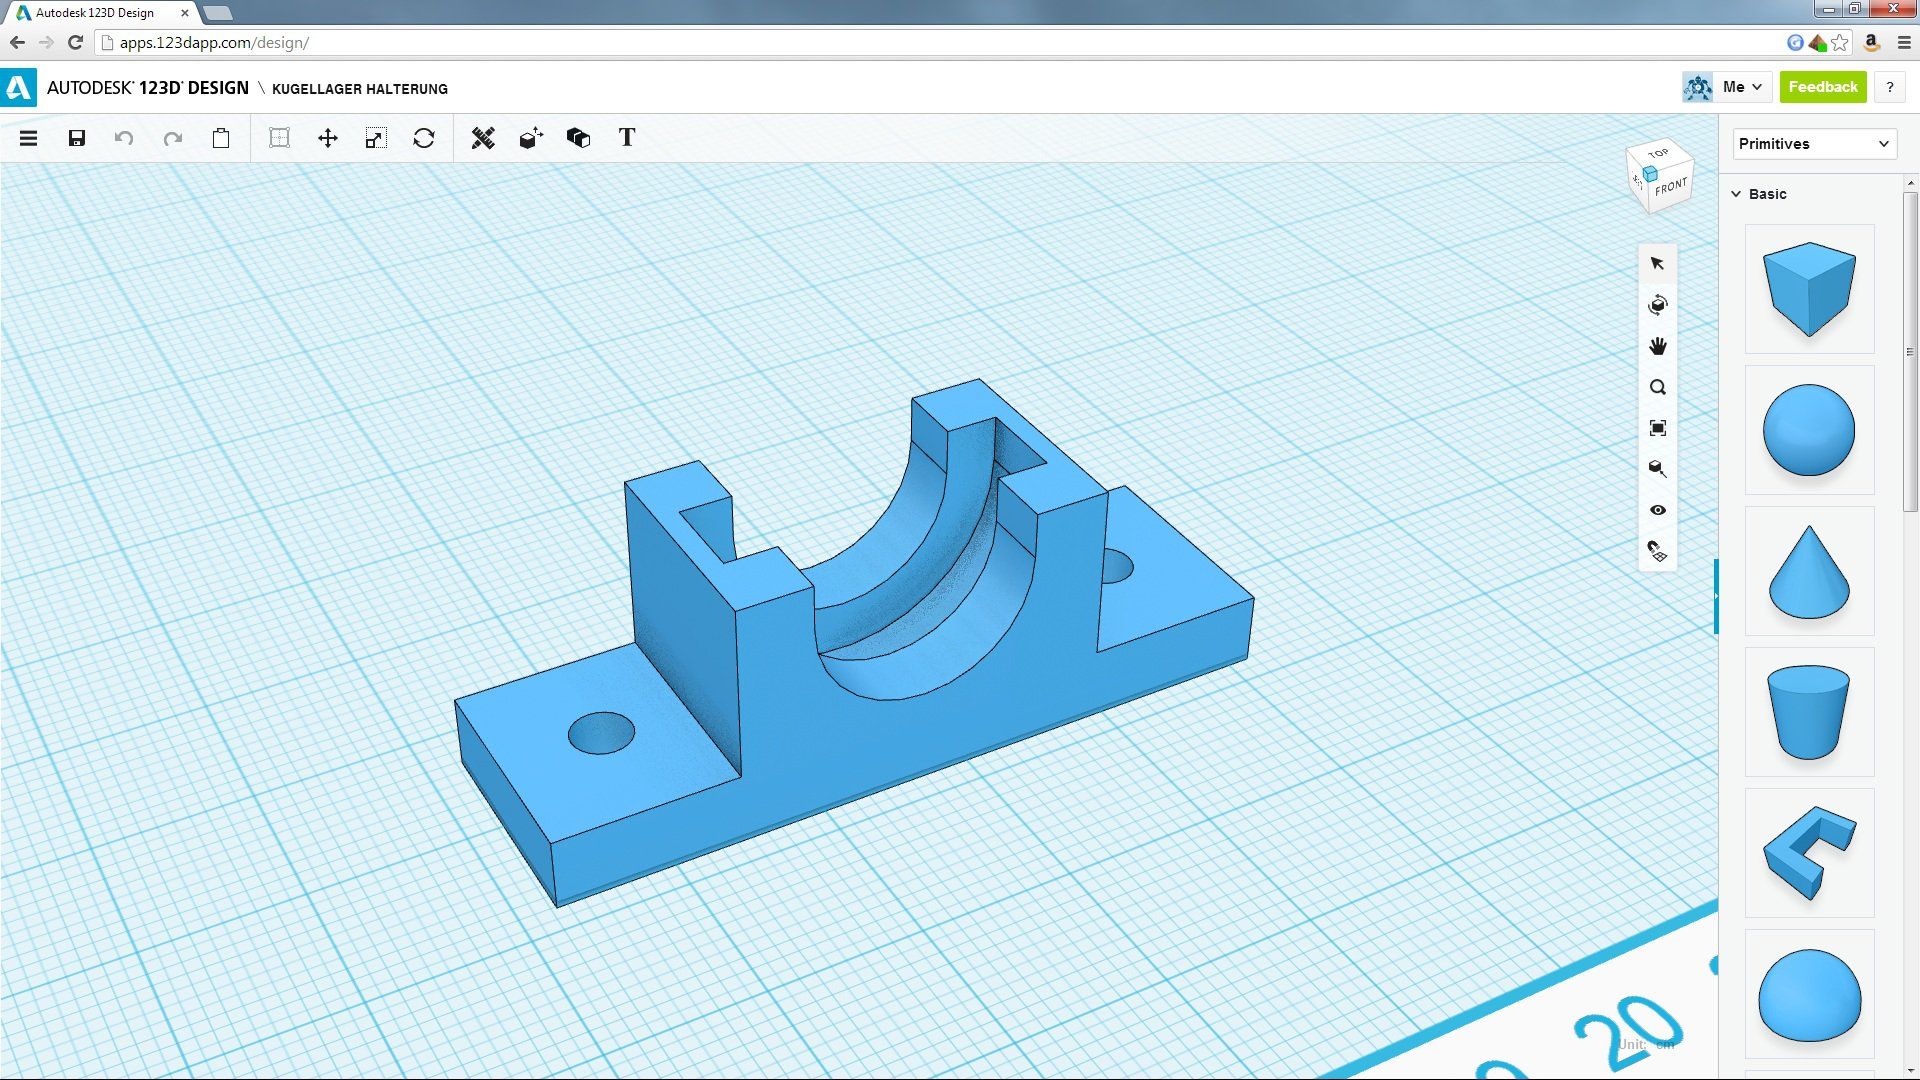
The CAD File can be found here.
To be Continued….