During the last year I was able to take some shots of Vienna at night. A very nice spot is the Karlskirche. With my EOS 600D I took some shots at once, but I had the problem that I had no tripod. So I took some pictures with the hand and ISO 3200. But because of the APS-C, I had a lot of noise and used the stacking technique and stacked tree pictures into one. This technique is really nice for people that have a small sensor size and also want to have low noise pictures.
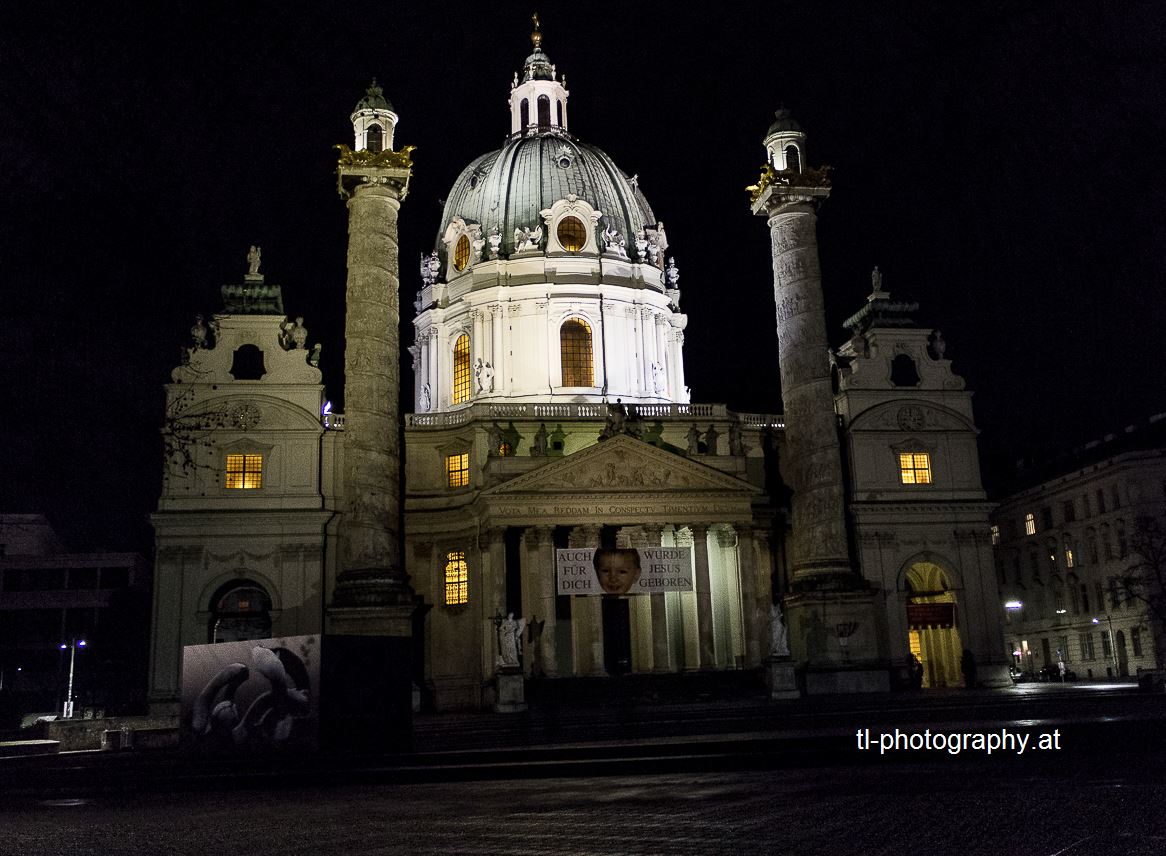
Karlskirche in Vienna. Taken with EOS 600D and ISO 3200 free hand
I also took some HDRs of the Karlskirche an tried different setting to the algorithm. I’m not really satisfied with the Adobe Photoshop algorithm. It looks somehow false and not nice. Next time I will evaluate the programs Photomatrix from HDRsoft and also the open source alternative Luminance HDR. I’m really looking forward to test both programs and their performance. Anyway, here are the results of Photoshop HDR after a really long time of trying. Most of the times I ended up with monochrome settings but this is also boring all the time.
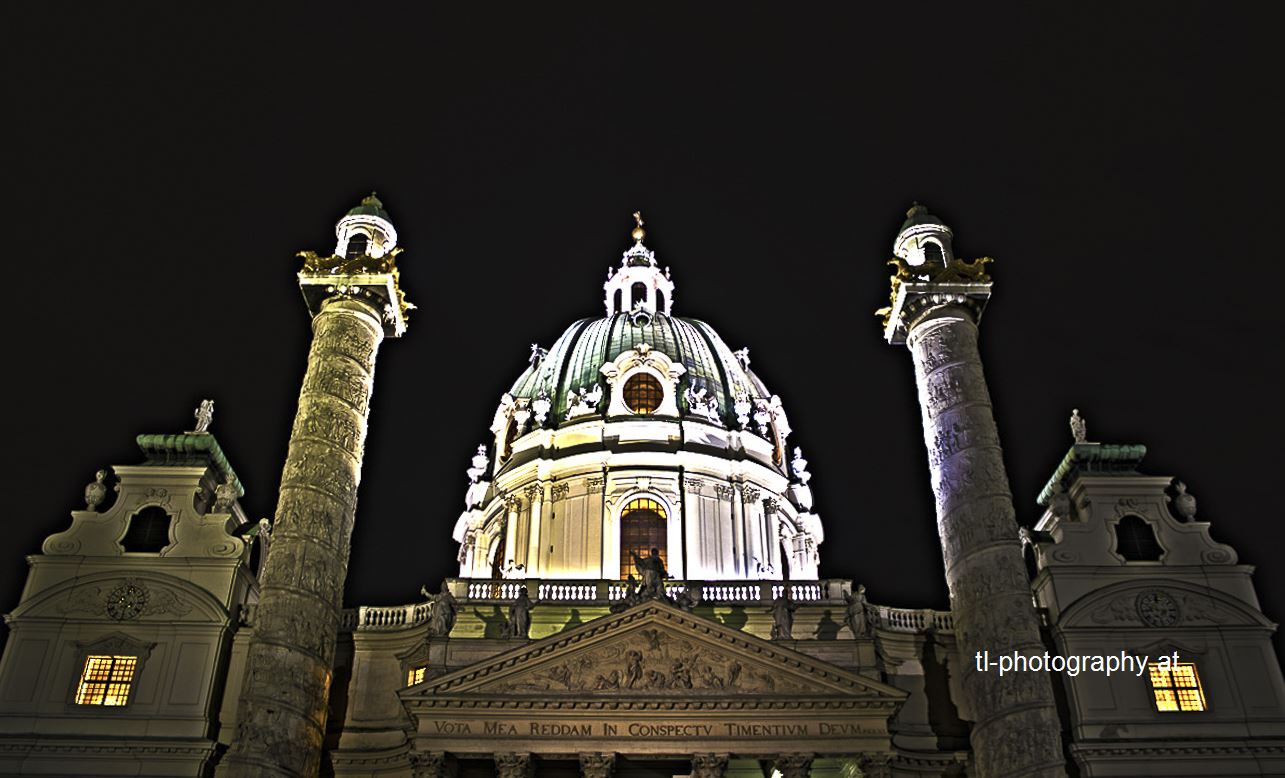
The Karlskirche in Vienna. HDR Shot out of tree pictures with +- 2EV.

The Karlskirche in Vienna. HDR Shot out of tree pictures with +- 2EV.
I also made some HDR pictures of the Musikverein in Vienna. The main problem was that I had a bit of rain. This can be seen in the dark areas where the water drops form some halos.
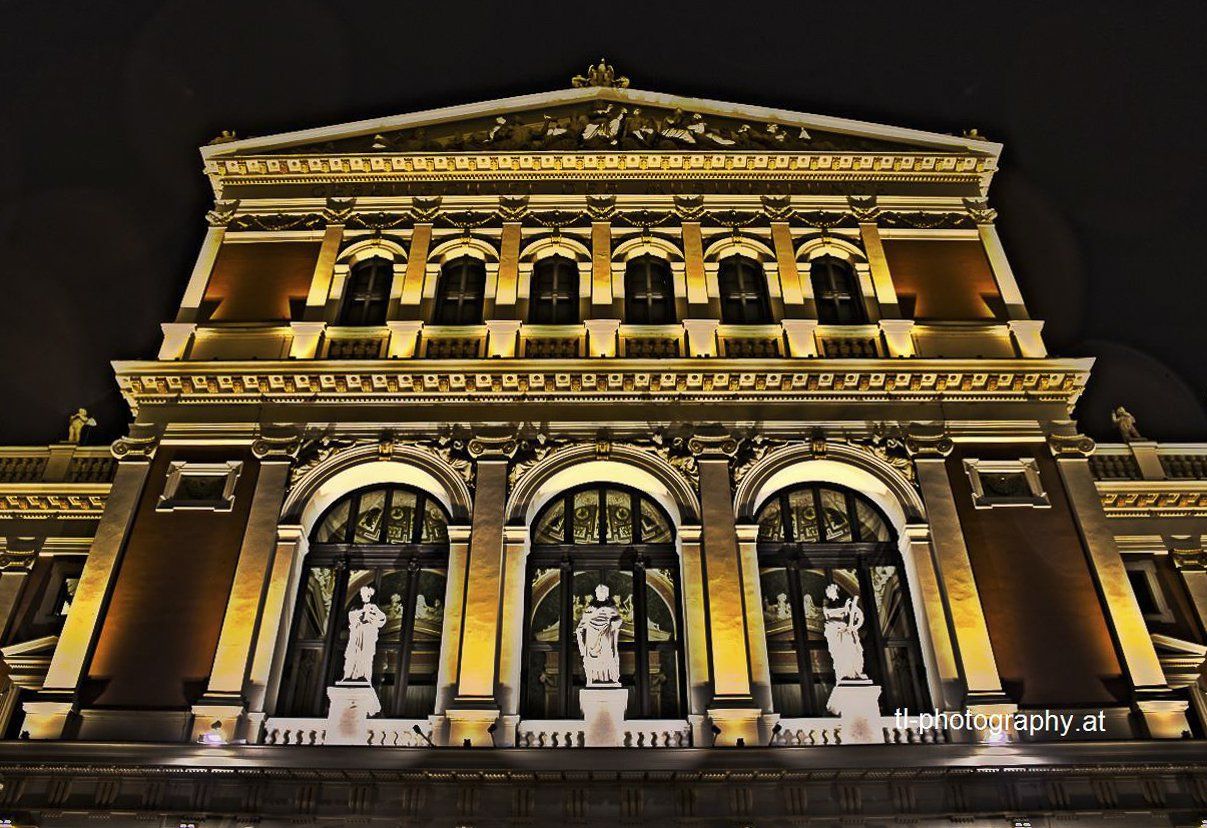
Vienna Musikverein. Assembled out of three pictures with +-2EV.
I also really like long exposure photographs. They show you a surreal picture of the real world. Also they are easy to made. You just need a nice spot and a long exposure. The camera type, small sensor sizes and weak ISO performance doesn’t matter, as well as lenses with aperture numbers above the f/3. These pictures below are taken with a EOS 600D and the stock 18-55 mm IS II.
The picture below is stacked out of five pictures with ISO 100, f/22 and 10 s of exposure. The camera was the EOS 600D with the 18-55 mm IS II. I stacked the picture with Photoshop with the Bright Color mod for each layer.
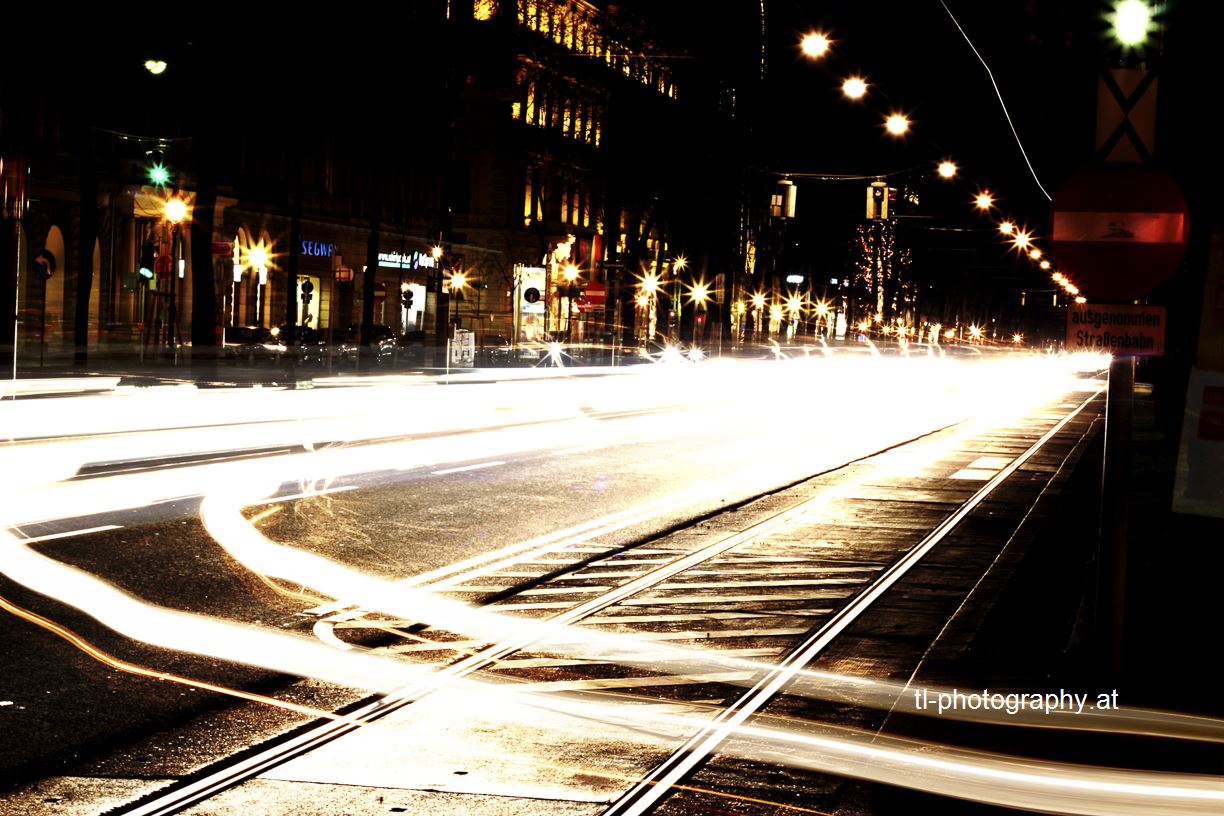
Light Streaks in Vienna.
This picture is also stacked, but i used 40 pictures for stacking. The Camera settings were f/11, ISO 200 and 2.5 s exposure.
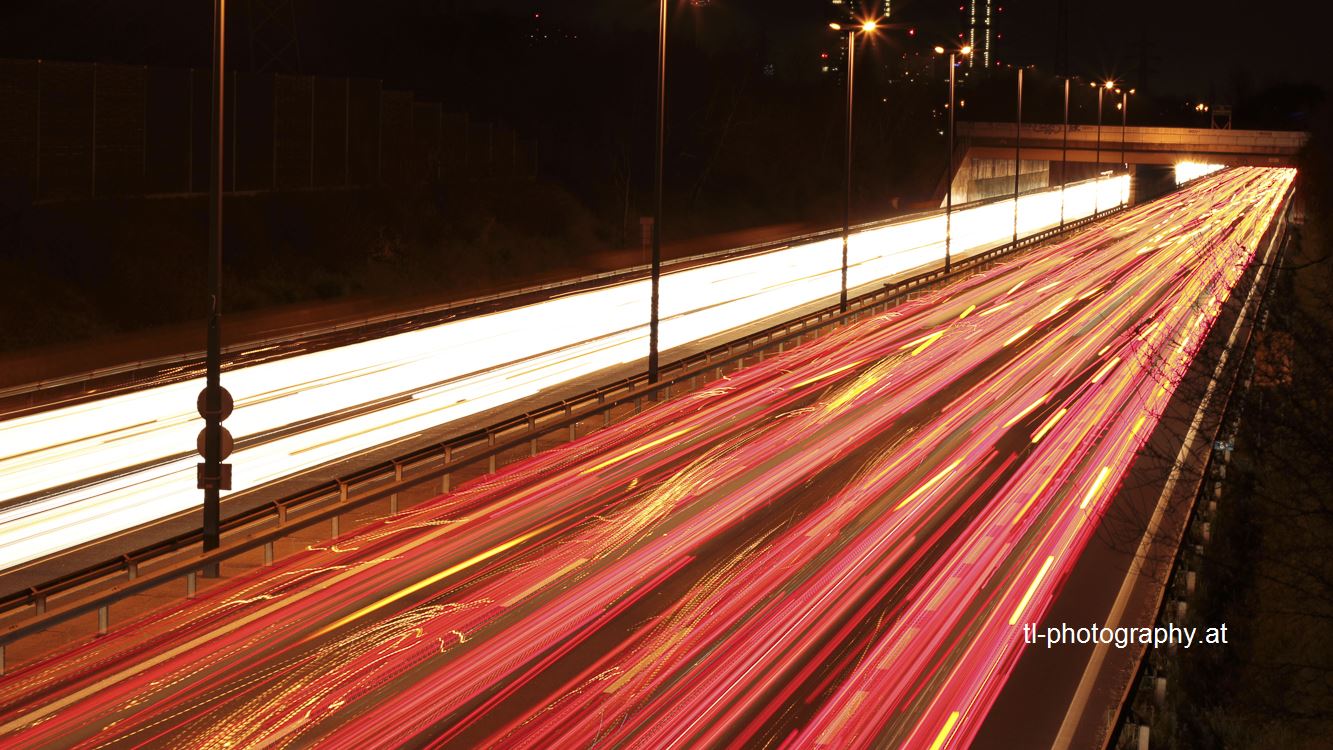
Highway A22 near Vienna.
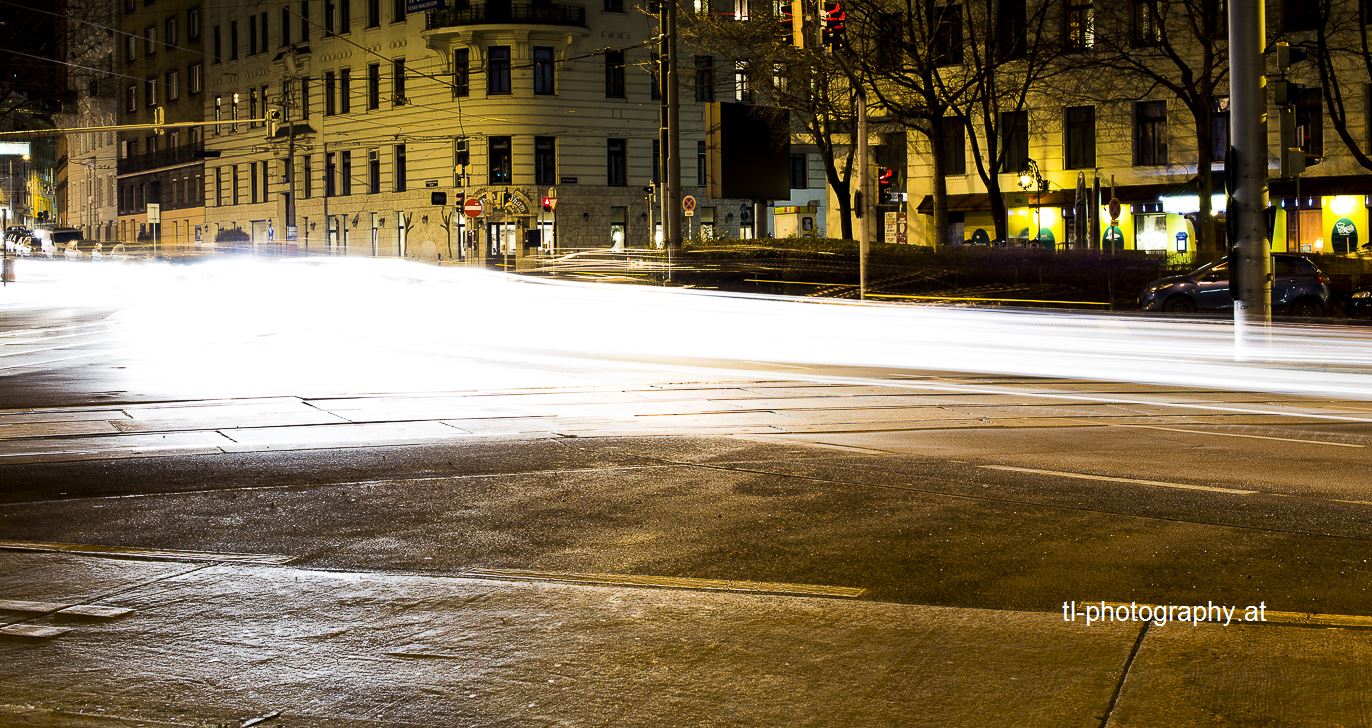
The picture below is also stacked but for this I used the the Vivid Light settings. The camera settings were f/22, ISO 100 and 15 s of exposure.
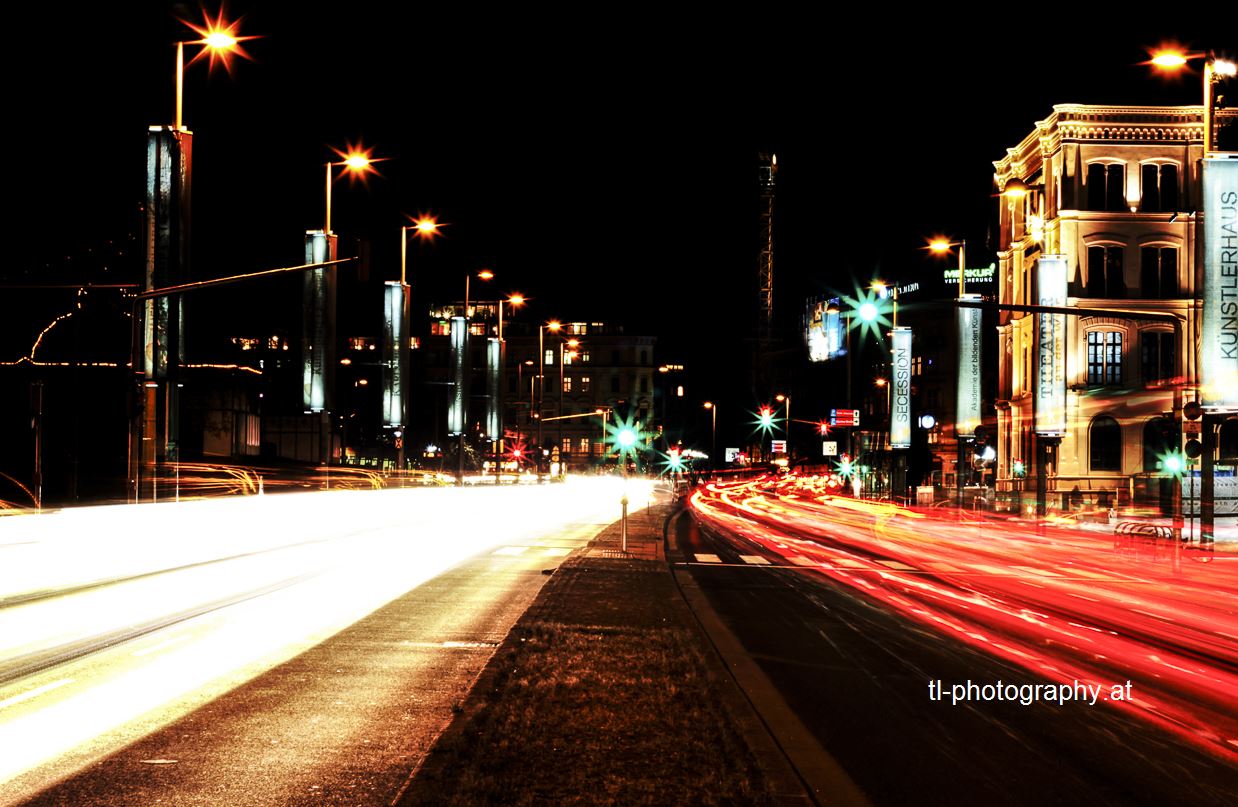
Light Streaks in Vienna at Karlsplatz.
A normal long exposure is the picture below. This was taken with the EOS 6D and the Sigma 50 mm 1.4. I did not stack them, just used some Camera RAW Settings.
Long Exposure Capture at Liechtenwerderplatz in Vienna.
Also the following picture is not stacked, just reworked with some Camera RAW settings. This time also the camera was the EOS 6D and the Sigma 50 mm 1.4.
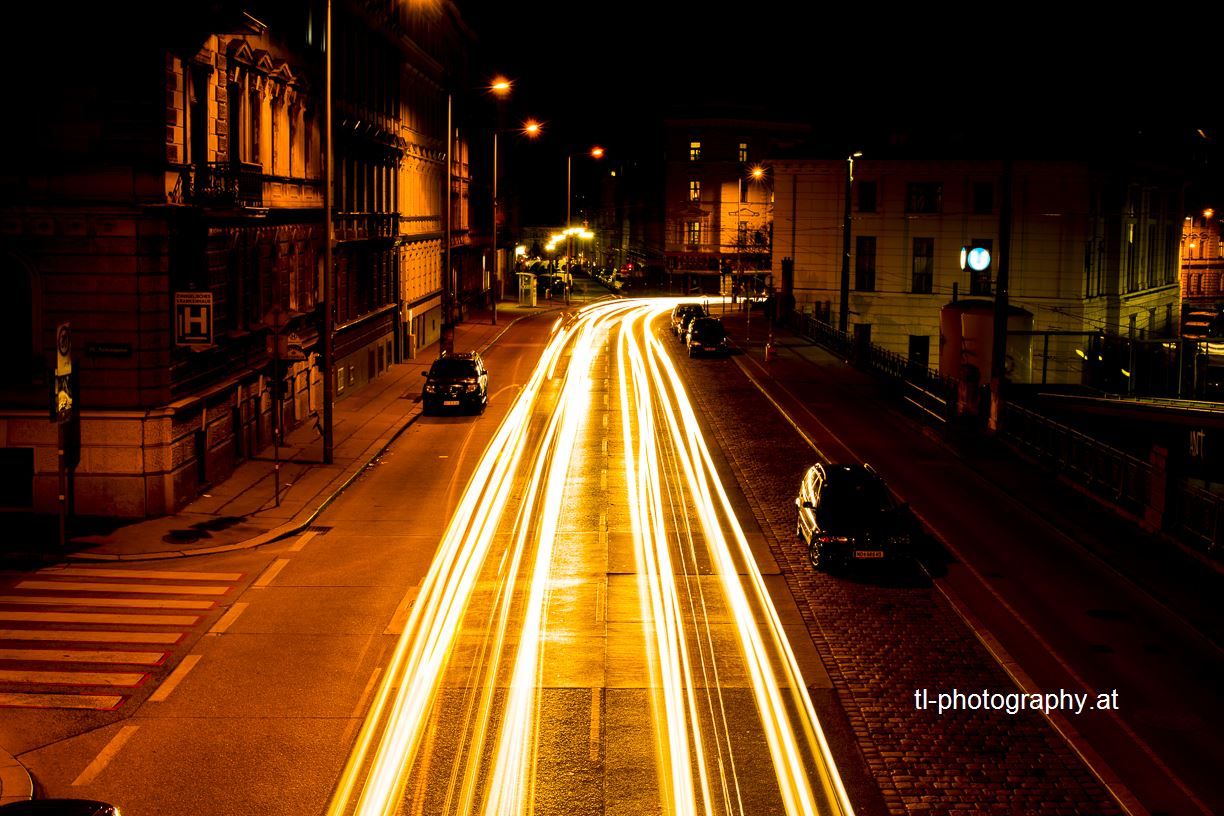
The Währinger Gürtel an Night.